October 4, 2026 · By Champion Brick Repair
If you are searching for tuckpointing in Dallas, here is the fastest way to tell the pros from the patch-and-run crowd: ask what they do before any new mortar goes in. If the answer is not grinding out the old, failed mortar first, walk away. Mortar joints that are not ground out before repointing are one of the most common reasons new mortar pops loose and falls out early.
Tuckpointing is not painting over the problem. It is removing the bad material, putting the right material back, and finishing it so water sheds off instead of soaking in. Here is the exact process order we run on every tuckpointing job in Dallas–Fort Worth — and what each step does for your wall.
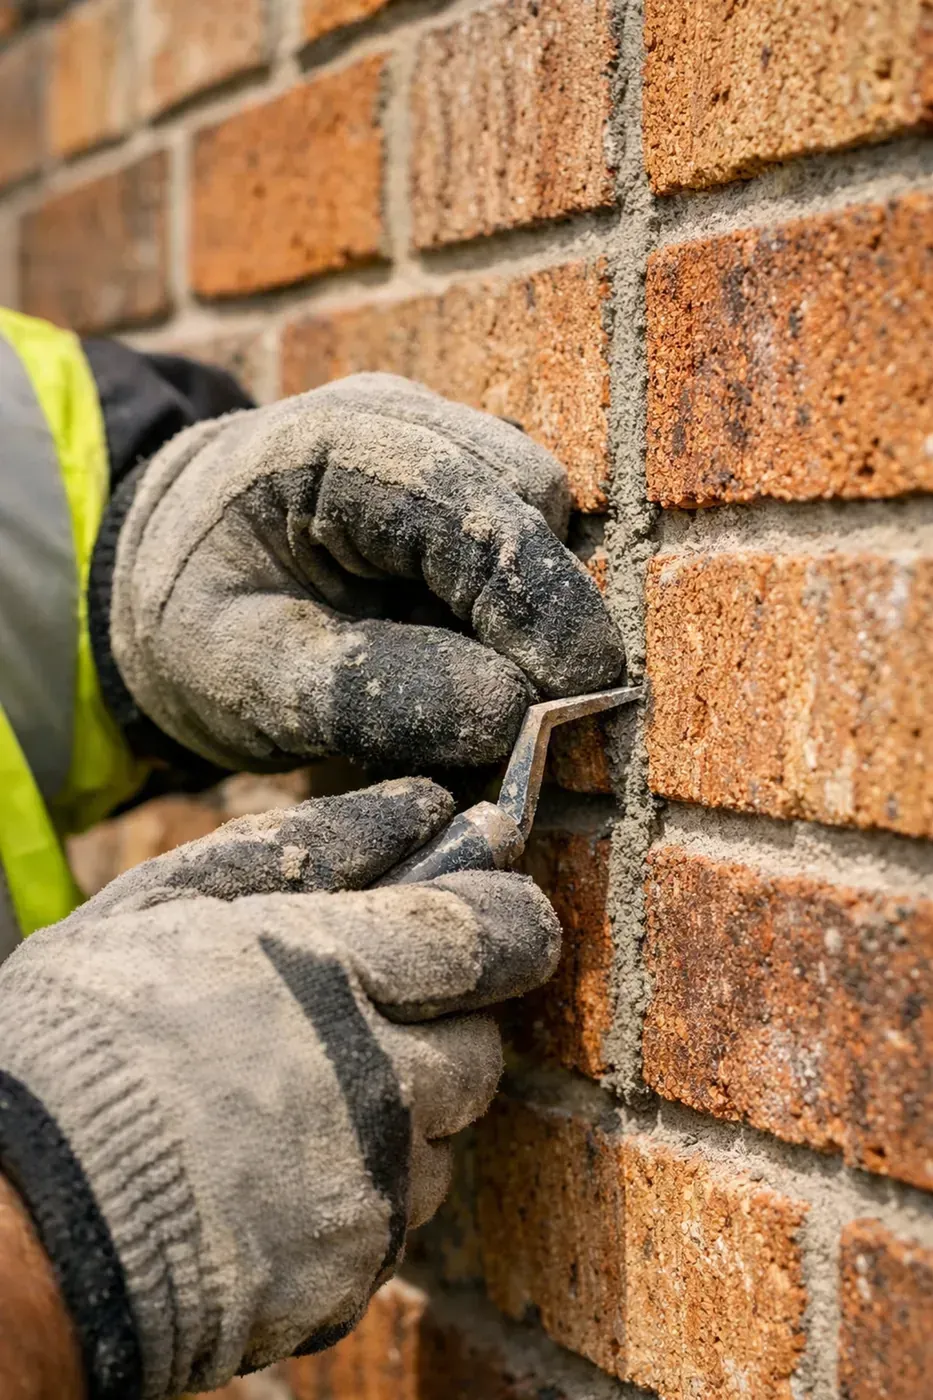
Everything starts with an angle grinder and a diamond mortar rake. We cut the deteriorated mortar out of the joints to about 5/8 inch deep so the new mortar has something to grip. The trade rule of thumb is that raked depth should be at least double the joint thickness — a thin smear over the surface has almost no bond.
On tight spots the grinder cannot reach without chipping the brick, we switch to a cold chisel, hand rake, or a small chipping gun. On stone, we put the grinder down entirely — grinders scar stone faces, so a pick hammer preserves the finish.
Dust control matters during this step. We run a vacuum shroud on the grinder plus a shop vac, and masks and goggles are non-negotiable. Extraction is never perfect, so the respirator stays on regardless of how good the setup looks.
After grinding, the joints get blown or vacuumed clean. Clean joints mean bond strength — new mortar laid over dust bonds to the dust, not to the wall.
Then the wall gets dampened with a pump sprayer before pointing. On thirsty Texas brick, controlled pre-wetting keeps the brick from sucking the moisture out of fresh mortar too fast, which weakens the cure. No standing water — just an even damp face.
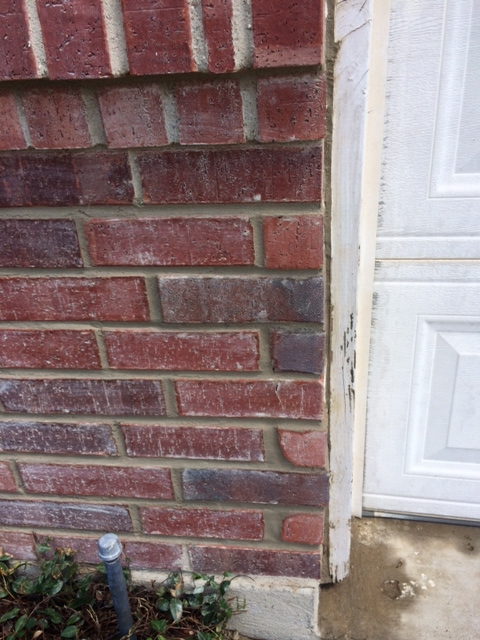
This is the step that separates a repair that disappears from one that screams “patched.” We custom-match the mortar color and texture to your existing wall before it goes into the grout bag — never an off-the-shelf bag mix, never a “close enough” gray.
Color matching is about more than color. A proper match considers sand tone and grain, aggregate size, and the texture the finished joint will carry after curing. Our detailed guide covers the full picture: Mortar Matching 101: Why Your Repair Mortar Should Be Softer Than Your Brick.
The matched mortar goes into a grout bag — think a baker’s piping bag — and gets squeezed directly into the prepared joints. Some contractors argue for a mortar gun because it is faster; the counterargument from working masons is that a hand-fed, properly stiff mortar compacts tighter in the joint.
What we never do: skip the grind and smear new mortar across the brick faces, or shoot a caulk-gun bead over failing joints. That is the “repaint anyway so color doesn’t matter” school of repair — it looks bad, bonds worse, and the homeowner gets to pay twice.
Once the joints are filled, each one gets tooled with a jointer — that shaping step compresses the mortar and forms the profile (concave, weathered, flush, or whatever the existing wall carries). The tooling profile matters twice: it controls how water sheds off the joint, and it is half of what makes the repair blend in visually.
Then we brush the joints with a stiff brush to knock down excess and clean the edges, and finish with an acid wash that removes mortar haze from the brick faces so the wall reads as one clean surface.
Use this checklist when comparing tuckpointing Dallas contractors:
No grinding step mentioned — just “repointing” or “re-caulking” the joints
An off-the-shelf bag mix with no color or texture matching
Mortar smeared across brick faces instead of piped into prepared joints
No plan for dust control, joint cleaning, or wall dampening
A price that assumes the job takes an hour — real tuckpointing is a full-day craft, not a touch-up
No test panel or sample before they start
Tuckpointing is also one of the best defenses against seasonal damage. Read The Benefits of Repointing Services: Protecting Your Home from DFW Weather for why fall is the ideal window to get it done.
The process order is the warranty, in a sense: grind deep, clean and dampen, custom-match before bagging, pipe it in, tool it, brush it, wash it. Skip any step and the joint will tell on you within a season or two — usually right after the check clears.
For related services, see Champion Brick Repair’s masonry repair services and our full services page.
Champion Brick Repair is a division of Whitestone Construction, Hamilton, Texas, and is not affiliated with any other companies using similar names.
Need tuckpointing in Dallas that will actually stay in the wall?
Call or text photos: (817) 523-1540
Website:championbrickrepair.com
Estimate:quick and easy free online estimate
Review our work:Google Review page
Bad joints let water in — let Champion Brick Repair grind them out and put the right mortar back in, with a lifetime warranty.