October 2, 2026 · By Abraham Wix-Expert
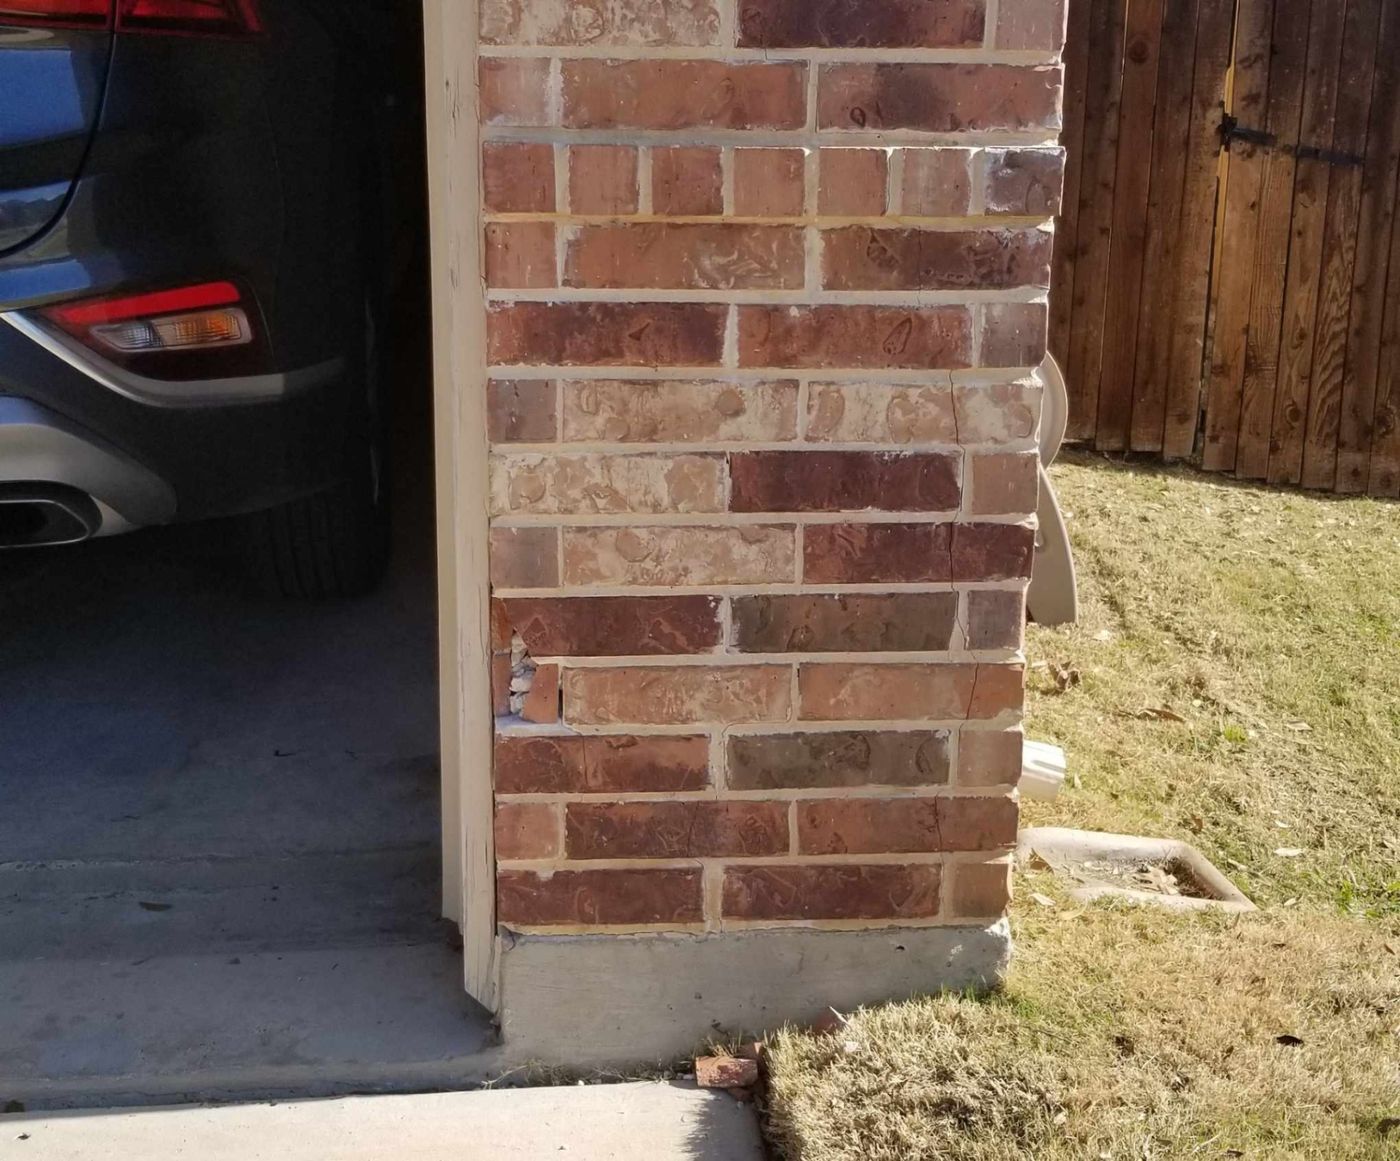
Dallas winter masonry damage rarely begins with one dramatic freeze. More often, water enters through a small defect, sits inside the brickwork, and becomes visible only after cold weather arrives.
That is the important distinction: winter damage is usually a water-management problem that shows up during freezing weather. Repairing the visible crack without stopping the water path is how the same damage returns.
Dallas–Fort Worth gets enough wet-then-freeze cycling to cause real masonry problems. When absorbed water freezes inside porous brick and mortar, it expands by roughly 9 percent. Repeated cycles can enlarge hairline defects, loosen mortar, and push the face of a brick outward.
Walk around your property after a heavy rain. Look at the wall from the ground, then trace every dark streak, white deposit, open joint, and area that stays wet longer than the surrounding masonry.
Wind-driven rain does not fall straight down. It pushes against the most exposed elevations and finds weak points in mortar joints, flashing, window heads, wall intersections, and cracks.
From the ground, look for:
Dark vertical or diagonal staining
White efflorescence below joints or openings
Mortar that appears recessed, washed out, or powdery
Brick that stays darker after the rest of the wall dries
Damp spots or peeling paint on the interior side of the wall
A wall facing prevailing storms may show more moisture damage than a sheltered elevation, even when both walls use the same brick.
Rainwater hitting soil, concrete, patios, and driveways can splash onto the lowest brick courses. That repeated wetting is easy to overlook because the water source is below eye level.
Look for:
Dirty or darkened brick near the base of the wall
Efflorescence along the first several courses
Spalled brick faces close to sidewalks or driveways
Crumbling mortar near grade
Moss, algae, or slow-drying areas
Caution: Do not allow soil, mulch, or landscaping material to sit against the brick base. Soil that covers the lowest course can keep the masonry damp and conceal deterioration.
A clogged gutter can overflow directly onto the wall. A short or disconnected downspout can concentrate thousands of gallons of runoff at one small area near the foundation.
From the ground, check for:
Black streaks below the gutter line
Eroded mortar beneath valleys or corners
Splash marks around the downspout discharge point
Spalled brick near the wall base
Soil erosion or standing water beside the foundation
Gutter failure quietly increases the moisture load on masonry. It may not create a visible crack immediately, but it can keep brick and mortar saturated long enough for winter freezing to do the damage.
Extend downspouts away from the wall and use splash blocks or properly directed extensions. The goal is simple: move roof water away from the brick and foundation instead of letting it collect at the base.
Water does not need a large hole to enter masonry. A hairline gap in a mortar joint can act as a water path, especially when wind pressure pushes rain against the wall.
Inspect areas around:
Open or recessed mortar joints
Window and door openings
Roof-to-wall transitions
Step flashing and counter-flashing
Brick cracks and wall intersections
Failed chimney mortar caps
Parapets and exposed wall tops
The Brick Industry Association’s Technical Note 7B emphasizes that fully filled and properly tooled mortar joints improve resistance to water penetration. When joints are incomplete or deteriorated, water can move deeper into the wall assembly and contribute to cracking, disintegration, and freeze-thaw damage.
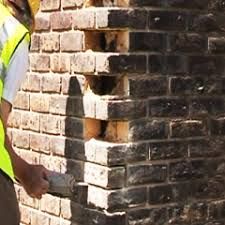
Open mortar joints are common, visible, and frequently repairable before the surrounding brick is damaged. That makes them one of the most cost-effective moisture issues to address early.
Do not confuse a small opening with a harmless cosmetic defect. Water can travel through a gap that looks insignificant from the ground, then spread behind the brick veneer or into the wall cavity.
Proper tuck-pointing or repointing involves more than smearing new mortar over the surface. A professional repair should:
Identify loose, cracked, or deteriorated mortar.
Remove unsound material to a suitable depth.
Install compatible replacement mortar.
Tool the joint to form a dense, weather-resistant surface.
Match the existing brick and mortar appearance.
See our professional tuck-pointing services and brick crack repair information for related repair details.
Efflorescence is the white, powdery material that appears on brick or mortar. Water dissolves soluble salts inside the masonry, carries them toward the surface, and leaves the salts behind as the water evaporates.
Efflorescence does not identify the exact source of the water. It may come from:
Open mortar joints
Ground moisture
Gutter overflow
Chimney leaks
Flashing defects
Construction materials containing soluble salts
It does confirm one important fact: moisture is moving through the masonry.
Brush away a small amount and monitor the area after the next rain. If the deposit returns, do not treat it as a cleaning problem alone. Find the water source.
Spalling occurs when the face of a brick flakes, pops, or breaks away. The typical progression looks like this:
Water enters through a joint, crack, cap, flashing defect, or grade problem.
Moisture moves into the brick and carries salts toward the surface.
Salt crystallization creates internal pressure.
Freeze-thaw cycles add pressure as trapped water expands.
The brick face separates from the body of the unit.
Once a brick has spalled, surface patching is usually not a permanent repair. The damaged unit may continue absorbing water and deteriorating. Replace severely damaged units and repair the surrounding mortar so the new brick does not inherit the same water problem.
Review our page on missing and spalled brick repair for more information.
The chimney stack is exposed on all four sides and receives water from above. The mortar cap or crown and the top courses of brick often take the most abuse because they are exposed to wind-driven rain, temperature changes, and repeated wetting.
A failed chimney mortar cap may allow water to enter from the top and migrate through the upper courses. From the ground, look for:
Cracks across the cap
Missing or crumbling cap material
White deposits below the cap
Spalled brick near the chimney top
Open mortar joints
Rust staining around metal components
Check the chimney cap before the first fire of the season. A cap that sheds water away from the brick helps protect both the chimney and the interior roof connection.
For related information, see our chimney mortar cap repair service.
Painting masonry may appear to solve discoloration, but non-permeable coatings can trap moisture behind the surface. Water may then force its way through the brick face, mortar joints, or the edge of the coating.
Avoid painting or sealing masonry before you understand:
Where the water is entering
Whether the wall is fully dry
Whether the brick and mortar are compatible with the coating
Whether the product allows water vapor to escape
The National Park Service distinguishes between breathable water-repellent treatments and waterproof coatings that block both liquid water and vapor. If a water-repellent treatment is appropriate, apply it only to sound, clean, dry masonry and follow the manufacturer’s temperature and curing requirements.
Tip: Never use a coating to hide active efflorescence, spalling, or leaking joints. Fix the moisture source first.
Complete these steps before the next major storm:
Clear gutters after leaf fall.
Confirm that downspouts discharge away from the wall.
Correct negative grading that directs water toward the structure.
Keep soil and mulch below the brick base course.
Move sprinkler heads away from masonry.
Check flashing at roof-to-wall transitions.
Keep weep holes clear of mortar, dirt, and landscaping material.
Inspect chimney caps and crowns before using the fireplace.
Note areas that remain dark or damp after surrounding masonry dries.
Photograph recurring efflorescence so you can track whether it returns.
Do not repair the brick first and hope the water problem disappears. Use this order:
Diagnose the water path. Determine whether the source is rain, splashback, roof runoff, grade, flashing, an open joint, or the chimney.
Correct the water source. Clear gutters, redirect downspouts, repair flashing, correct drainage, or rebuild the failed cap.
Repair the masonry. Repoint joints, replace spalled brick, repair cracks, and restore damaged wall sections.
Verify drainage. Observe the wall during the next rain and confirm that water is no longer concentrating at the repaired area.
That sequence applies whether you need general brick repair in Dallas, spalled brick replacement, chimney work, or a larger damaged brick wall repair project.
A sound repair should stop the water path and restore the masonry, not simply cover the evidence.
If you are searching for brick repair Dallas, masonry repair Dallas TX, efflorescence brick wall, spalled brick repair, chimney mortar cap repair, or brick crack repair near me, Champion Brick Repair & Whitestone Construction can help identify the moisture source and plan the repair.
Request a quick and easy free online estimate, request a free inspection or free evaluation, or call (817) 523-1540. If you want to share photos for review, text photos to (817) 523-1540.
If our work has helped protect or restore your masonry, please leave Champion Brick Repair & Whitestone Construction a Google review.
Champion Brick Repair & Whitestone Construction Hamilton, Texas · (817) 523-1540 · Serving Dallas–Fort Worth · championbrickrepair.com
Champion Brick Repair is a division of Whitestone Construction, Hamilton, Texas, and is not affiliated with any other companies using similar names.
Cracks are ugly — let Champion Brick Repair fix them right, with mortar matched to your home and a lifetime warranty.