October 17, 2026 · By Champion Brick Repair
If you own a brick home in Fort Worth, the joint where your chimney meets the roof is one of the hardest-working lines on the whole house — and in Fort Worth, chimney flashing failure is the quiet reason water shows up on ceilings, in fireboxes, and inside walls that looked perfectly sound from the ground. Flashing is not caulk, and it is not a single strip of metal. It is a two-part system built into the masonry and the roof at the same time, and when either part fails, the roofline starts letting water in.
A chimney is a big masonry box punched straight through a sloped roof. Rain does not fall politely around it. Water runs down the shingles, hits the uphill face of the chimney, and tries to turn the corner. Wind drives it sideways. The flashing system exists to catch that water at every change of direction and walk it back out onto the roof — course by course, joint by joint — before it ever reaches wood, drywall, or the inside of the brick work.
Most chimney leaks blamed on “bad flashing” are really one half of a two-part system failing while the other half gets the blame.
Step flashing is a series of small metal pieces woven in with the shingles along each side of the chimney. Each piece steps up with a shingle course: one piece lays over the shingle below and under the shingle above, so water running down the roof is passed from piece to piece and stays on top of the roof covering all the way down. It is a ladder for water, and every rung has to be in order. One missing, reversed, or rusted-through piece breaks the chain at exactly the course where water needs to change direction.
Counterflashing is the metal that closes the top of the system from the chimney side. Done right, its top edge is set into a shallow groove — a reglet — cut into a mortar joint, then bent down over the step flashing and the joint is sealed and pointed back in. That overlap is the whole idea: water that gets behind the counterflashing still lands on step flashing and is carried out, and water running down the brick face is shed over the top of the roof-side metal. The two parts move a little differently as the roof and the masonry expand and contract, and the overlap lets them move without opening a gap.
Our look at through-wall flashing in Dallas brick veneer covers the same principle inside a wall: metal is there to collect water and direct it out, not to block it with a surface bead.
A ceiling or wall stain near the fireplace. Water entering at the roofline travels down framing and flue surrounds before it shows. A stain that grows after wind-driven rain, and sits high near the chimney chase, points at flashing before it points at the roof field.
Water, damp mortar, or a musty smell in the firebox. Moisture coming down inside the chimney can show as damp joints, rust on a damper, or staining in the firebox after a storm.
White powder on the brick near the roofline. Efflorescence — mineral salts left behind as water moves through masonry and evaporates — means water is traveling through the brick near the chimney base instead of being shed outside it.
Rusted, lifted, or patched-over metal at the chimney base. Counterflashing pulling out of its joint, step flashing rusted through, or layers of old surface patch built up at the base are signs the system has been leaking and being covered over, in that order.
Cracked or open mortar joints right at the roofline. The lowest joints on a chimney take the most splash, heat, and movement. Open joints there feed water straight to the flashing line below them.
A bead of caulk or a smear of roof cement at the chimney base can slow a leak for a season because it covers the symptom — the visible gap. It does not rebuild the overlap. Surface sealant sits on the outside of a system that is supposed to work in layers underneath. Sun and heat age it, the chimney and roof move at different rates, and the bead splits — usually right back over the same entry point, now hidden under a patch that makes the real inspection harder. If a chimney has three generations of patch material at its base, that history is telling you the flashing system underneath has needed rebuilding for a long time.
The same caution applies to counterflashing that was face-nailed or glued to the brick instead of set into a cut joint. A surface-mounted strip depends entirely on its sealant line. A reglet-set counterflashing is locked into the masonry itself, and its lower edge is free to overlap and shed — the sealant becomes a backup, not the whole defense.
Open the base and inspect both halves. Shingles around the chimney and the old counterflashing come back far enough to see the step flashing course by course. You cannot judge flashing you cannot see, and guessing which half failed is how chimneys get patched three times.
Replace what is rusted, missing, or out of sequence. Step flashing is rebuilt woven in with the shingle courses, in order, so each piece sheds onto the next. Sound roofing material that can be reused is handled carefully; damaged pieces are replaced.
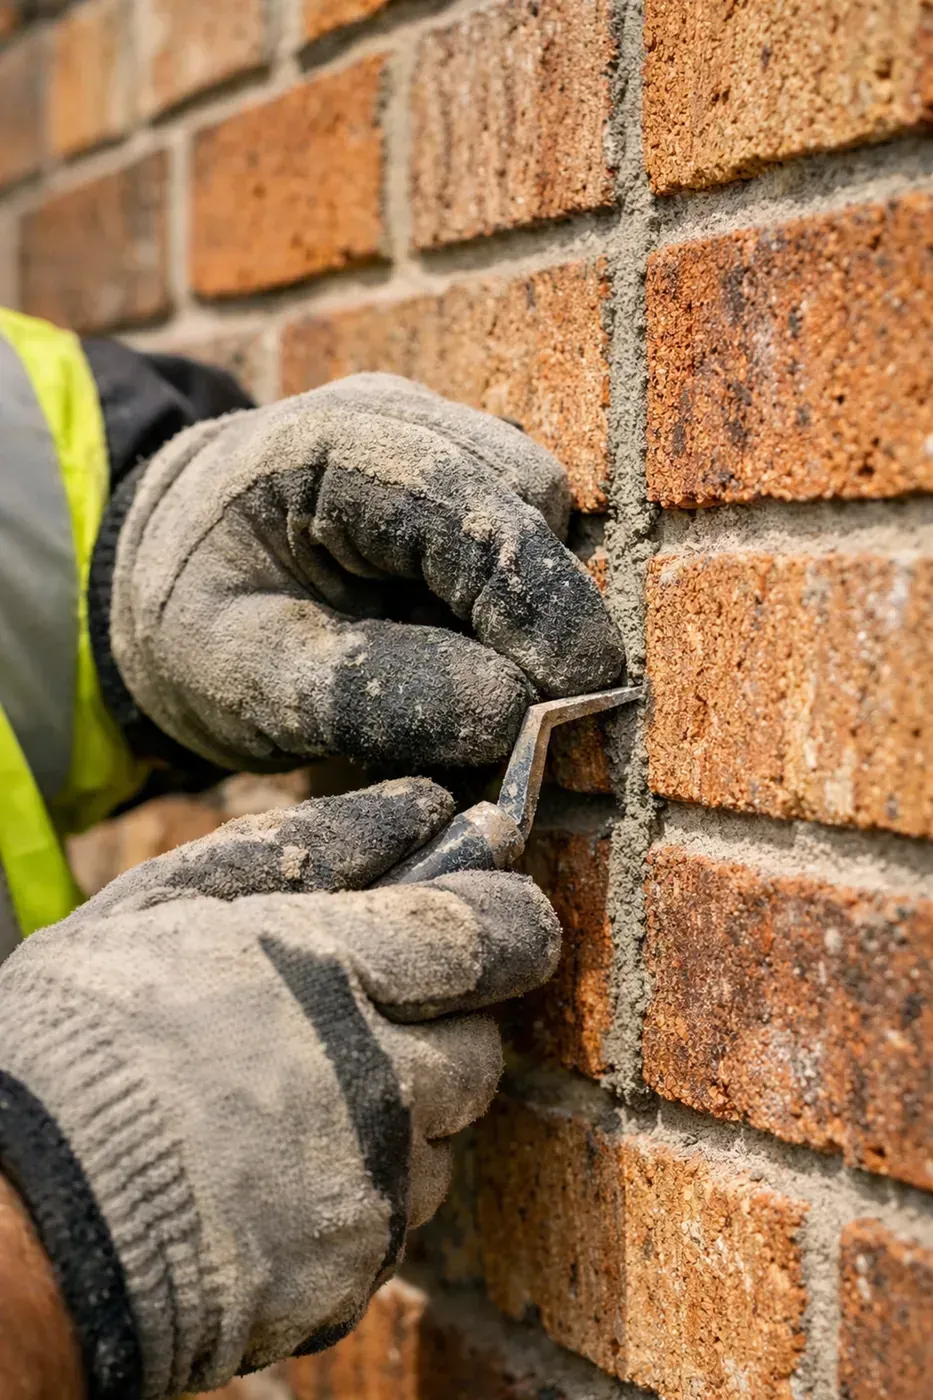
Cut the reglet and set new counterflashing into the joint. A clean groove is cut into a mortar joint — not into the brick face — the counterflashing top edge is bent and locked into it, and the joint is sealed and pointed back in with mortar matched to the surrounding work.
Repoint the roofline joints that feed the flashing. Open joints near the base are ground out about 5/8 inch, cleaned, dampened, and repointed with mortar custom matched for color and texture before it goes in the bag, and kept softer than the brick — the rule in mortar matching 101.
Check the top of the chimney while access is up. A cracked crown or open cap joints pour water into the same masonry from above. Flashing work paired with a crown and joint check — the kind of full scope covered in what a real chimney fix covers — keeps a fixed base from being undermined by a leaking top.
From the yard with binoculars, look at where the chimney meets the roof on a Fort Worth home. The metal at the base should read as one clean, even line — no lifted corners, no rust streaks running down the shingles, no lumpy build-up of patch material. Look for white salt staining on the lowest brick courses and for mortar joints that have opened right at the roofline. Inside, check the ceiling and walls around the fireplace after the next hard, wind-driven rain, and open the firebox door and look for damp joints or rust. Photograph the base line from the same spot each season; flashing that is lifting or rusting will show the change before the ceiling does.
One caution: do not climb onto a roof to pry at flashing or add sealant. The base of a chimney is exactly where footing is awkward and metal edges are sharp. Note what you see, photograph it from the ground, and get it inspected from proper access. Our Fort Worth brick repair page covers the chimney and masonry work we do across the city.
Are you replacing step flashing, counterflashing, or both — and what did you find when you opened the base?
Is the counterflashing set into a cut joint, or surface-mounted and sealed?
What happens to the shingle courses where the step flashing weaves in?
Are the open roofline mortar joints being repointed as part of the job, with mortar softer than the brick?
If water is showing up around a Fort Worth fireplace after rain, start at the roofline, not the ceiling. The stain is the symptom. The flashing is usually the repair.
Champion Brick Repair is a division of Whitestone Construction, Hamilton, Texas, and is not affiliated with any other companies using similar names.
Chimney leaking at the roofline, or flashing patched over one time too many? Get both halves of the system inspected before the next storm works on it.
Call or text photos: (817) 523-1540
Website:championbrickrepair.com
Estimate:quick and easy free online estimate
Review our work:Google Review page
A chimney leak at the roofline is a flashing system problem — let Champion Brick Repair inspect both halves of yours right.