


Essential Lintel Repair DIY Methods for Property Owners
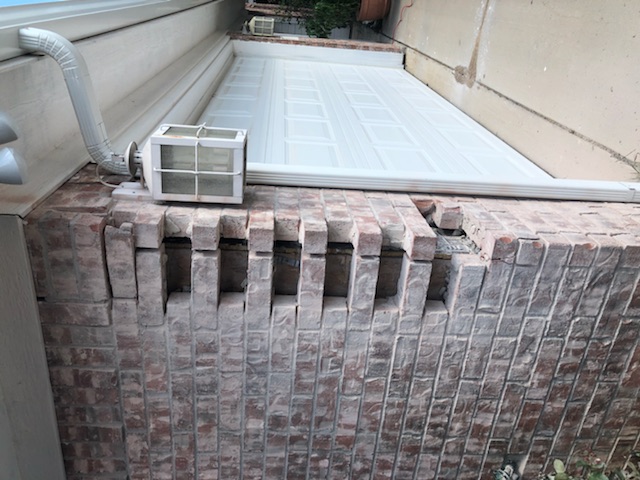
When it comes to maintaining the structural integrity of your home or renovation project, lintels play a crucial role. These horizontal supports above doors and windows bear the weight of the masonry above, preventing cracks and sagging. Over time, lintels can deteriorate due to weather, rust, or poor installation. But don’t worry - with the right approach, you can tackle lintel repairs yourself and save both time and money.
In this guide, I’ll walk you through practical, easy-to-follow lintel repair DIY methods. Whether you’re dealing with minor cracks or more serious damage, these tips will help you restore strength and safety to your property.
Understanding Lintel Repair DIY Methods
Before diving into repairs, it’s important to understand what lintels are and how they function. Lintels are typically made from steel, concrete, or wood, and they support the masonry above openings like windows and doors. When lintels fail, you might notice cracks in the brickwork, sagging, or even loose bricks.
Here’s a quick overview of common lintel issues and how DIY methods can address them:
Rusting steel lintels: Steel lintels can corrode over time, weakening their support. Removing rust and applying protective coatings can extend their life.
Cracked or spalled concrete lintels: Concrete lintels may develop cracks or surface damage. Patching with repair mortar restores their strength.
Wood lintel decay: Wood lintels can rot or warp. Replacing or reinforcing them is essential for safety.
Safety tip: Always wear protective gear like gloves and goggles when working on lintel repairs. If you’re unsure about the extent of damage, consult a professional.

Step-by-Step Lintel Repair DIY Methods
Now, let’s get hands-on. Here’s a step-by-step guide to repairing common lintel problems using DIY techniques:
1. Inspect and Assess Damage
Start by carefully examining the lintel and surrounding masonry. Look for:
Rust or flaking paint on steel lintels
Cracks or crumbling concrete
Loose or missing mortar joints
Signs of water damage or rot on wood lintels
Use a flashlight and a small hammer to gently tap the lintel and bricks. Hollow sounds may indicate internal damage.
2. Prepare the Area
Clear away loose debris, old mortar, and rust flakes. For steel lintels, use a wire brush or angle grinder with a wire wheel attachment to remove rust thoroughly. For concrete, chip away loose pieces with a hammer and chisel.
Make sure the surface is clean and dry before proceeding.
3. Apply Rust Protection or Repair Mortar
For steel lintels: After cleaning, apply a rust-inhibiting primer and then a protective paint designed for metal. This prevents further corrosion.
For concrete lintels: Use a high-quality repair mortar to fill cracks and spalled areas. Follow the manufacturer’s instructions for mixing and application.
4. Repoint Mortar Joints
If mortar joints around the lintel are damaged, repoint them by removing old mortar to a depth of about 1 inch and filling with fresh mortar. This seals gaps and strengthens the masonry.
5. Reinforce or Replace if Necessary
In cases of severe damage, reinforcement may be needed. This could involve installing steel plates or replacing the lintel entirely. These tasks are more advanced and may require professional help.
By following these steps, you can effectively address many lintel issues yourself.
Do you put mortar on a steel lintel?
This is a common question when repairing lintels. The short answer is yes, but with some important considerations.
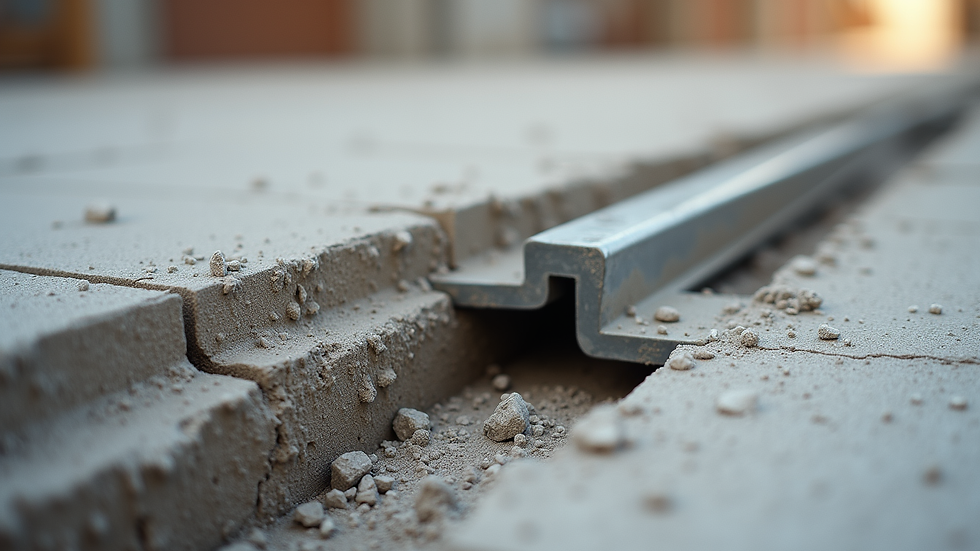
Steel lintels are often embedded in mortar or concrete to bond them with the surrounding masonry. When repairing, you should apply mortar around the steel lintel to restore this bond and protect the metal from exposure to moisture and air, which cause rust.
However, the mortar must be applied carefully:
Use a mortar mix compatible with the existing masonry.
Avoid covering the entire steel surface with mortar if it will trap moisture.
Ensure proper drainage and ventilation to prevent rust buildup.
If the steel lintel is severely corroded, simply applying mortar won’t be enough. You’ll need to clean the steel thoroughly and apply rust protection before repointing with mortar.
Pro tip: Use a mortar mix with added waterproofing agents for better durability around steel lintels.
Tools and Materials You’ll Need for DIY Lintel Repair
Having the right tools and materials on hand makes lintel repair much easier. Here’s a checklist to get you started:
Wire brush or angle grinder with wire wheel (for rust removal)
Hammer and chisel (for removing damaged mortar or concrete)
Trowel and pointing tools (for applying mortar)
Rust-inhibiting primer and metal paint (for steel lintels)
High-quality repair mortar or concrete patch
Mortar mix suitable for your masonry type
Protective gloves, goggles, and dust mask
Measuring tape and level (to check alignment)
Bucket and mixing tools for mortar
Make sure to buy materials rated for exterior use if your lintel is exposed to weather.
Tips for Long-Lasting Lintel Repairs
To ensure your repairs last, keep these tips in mind:
Address moisture issues: Water is the enemy of lintels. Fix leaks, improve drainage, and seal cracks to keep moisture away.
Regular inspections: Check lintels annually for signs of damage or rust.
Use compatible materials: Match mortar and repair products to your existing masonry to avoid cracking.
Don’t ignore small cracks: Early repairs prevent bigger problems down the line.
Follow manufacturer instructions: For repair mortars and primers, proper mixing and curing are key.
If you want to explore more detailed methods, you can find excellent diy lintel repair techniques that cover advanced options and safety precautions.
When to Call in the Experts
While many lintel repairs can be done yourself, some situations require professional intervention:
Severe rust compromising steel lintel strength
Large cracks or sagging above openings
Structural instability or shifting walls
Historic buildings needing specialized restoration
In these cases, a professional masonry contractor can assess the damage and recommend the safest, most effective repair or replacement.
Taking care of lintels is essential for the safety and longevity of your property. With the right knowledge and tools, you can confidently tackle many repairs yourself. Remember to work carefully, prioritize safety, and don’t hesitate to seek expert help when needed. Your home’s structure will thank you!
Comments